10 Best Web Analytics Tools For 2024 (Comparison)
Are you looking for the best web analytics tools to monitor your traffic and website performance?
Keeping a close eye on what’s happening with your website is hugely important. It helps you to hone your ad strategy, develop new ideas, and weed out any issues your site may have. And thankfully, there are heaps of web analytics tools that will help you to analyze all your key metrics in one neat package.
But with so many different tools to choose from, it can be overwhelming trying to decide which one is right for your business.
In this article, we’ll be taking a look at the best web analytics tools the internet has to offer them and comparing their prices and features so that you don’t have to.
What are the best web analytics tools?
- Clicky Analytics – Best web analytics tool for balance of features, affordability, and ease of use. Cookieless tracking by default for GDPR compliance.
- Fathom Analytics – Best web analytics tool for privacy.
- Google Analytics – Best free web analytics tool for small businesses.
- Matomo – Best ethical Google Analytics alternative to protect customer privacy.
- Semrush – Best for SEO and PPC data tracking. Ideal for estimating search traffic of your competitors.
- Semrush Traffic Analytics – Best for competitor analysis. Get a full view of your competitors’ traffic, not just their search traffic.
- Kissmetrics – Best for uncovering who your users are.
- Hotjar – Best for deeper insights and user feedback.
- Mixpanel – Best scalable products analytics tool.
- Countly – Best for understanding and enhancing customer journeys.
#1 – Clicky Analytics
Clicky Analytics is an all-in-one web analytics tool that’s perfect for the site owner that’s looking to keep their finger on the pulse. It’s equipped with all the analysis features you’d need such as page visit information, location heatmaps, and customizable tracking.
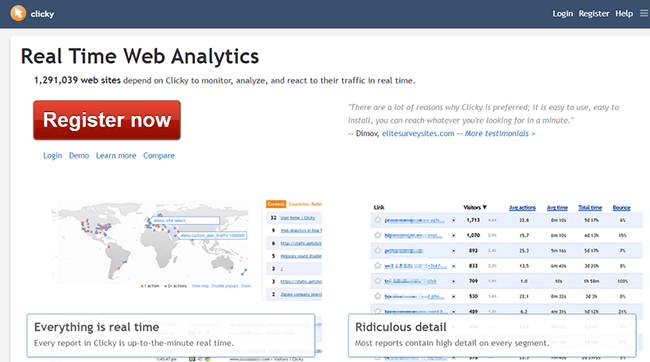
However, the main selling point of Clicky Analytics is that it offers real-time tracking which will allow you to get more information on popular visit times and traffic surges to your site. With many other popular tools, this information isn’t available until the next day.
But it gets better because Clicky Analytics now offers cookieless tracking to help you with GDPR compliance.
Pricing:
The most basic version of this tool is free.
Pro Pricing plans start at $9.99/month. All paid plans increase the daily views and website allowance and give you access to a ton of premium features like outbound link tracking and split testing.
#2 – Fathom Analytics
Fathom Analytics is one of the best web analytics tools for website owners that value visitor privacy when it comes to gathering data.

Unlike most other tools, it doesn’t collect any personal data and doesn’t use cookies, so you won’t need to display annoying cookie notices. Fathom only gathers the most essential data that you need to track your KPIs effectively.
The tool also has a super easy to use dashboard and sends a weekly email report of all the sites that you’re tracking. Fathom users can track multiple sites on all pricing plans, which is great if you manage more than one site. If you do have a website portfolio, it’ll help you to keep track of your sites all in one place and should save you a few dollars.
Pricing:
Pricing for Fathom starts at $14/month for 100,000 visits/month.
You can also test Fathom using their 7-day free trial. (Credit card required. Cancel anytime.)
#3 – Google Analytics
Google Analytics is the most widely used web analytics tool by a large margin – and there’s a reason for that. Their comprehensive analytics suite includes many features for free that other tools charge for. Live referral traffic data, audience insights, funnel analytics, behavior flow, and user acquisition data are all at your fingertips.
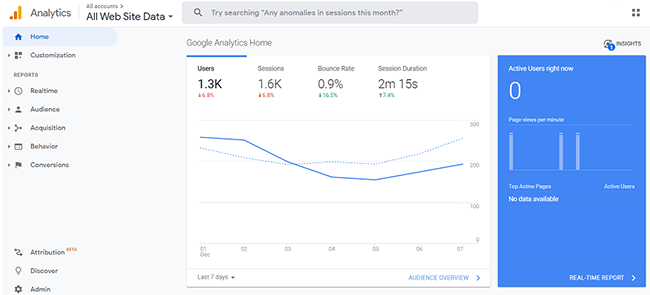
The dashboard is neat and well-organized, allowing you to get an overview of the most important metrics at a glance. The ‘Ask Analytics Intelligence’ option is also a neat feature. You can use it to quickly get answers to straightforward questions without having to trawl through the data and work it out yourself.
For example, you can ask questions like ‘how long do users spend on my site?’ and let the tool calculate the average session duration for you. Or, if you want to dig a little deeper, you can follow that up by asking Google Analytics to ‘compare this week’s average session duration with last week’.
And of course, it also integrates with other important Google marketing tools like Adsense and Adwords.
Pricing:
Google Analytics Standard is available for free (hooray!)
Google Analytics 360 is their paid enterprise option for businesses that need access to more advanced features like unsampled reporting, advanced funnel reporting, raw data, and more. There’s no set price so you’ll need to request a quote, but expect to pay five figures or more per year.
#4 – Matomo
Matomo is another popular web analytics tool. The USP of Matomo is the fact that it’s open-source, with hundreds of individual contributors to ensure maximum security and transparency.
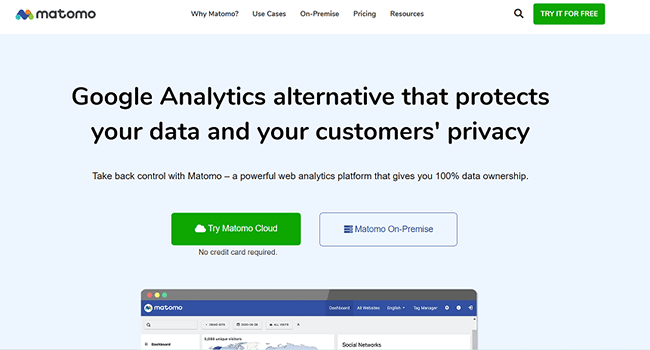
Matomo markets its tool as an ethical Google Analytics alternative. Unlike Google Analytics, which uses a cloud-based data storage system on Google’s own servers, Matomo On-Premise allows you to store all your customer data on your own server. If you care about customer privacy, this is a great option.
With 100% data ownership, you don’t have to share your valuable customer data with any third-parties, giving your customers peace of mind that their data is being handled ethically. You can even use it without having to ask for consent.
Aside from the above, Matomo offers similar features to Google Analytics, with key metric tracking and a customizable dashboard.
Pricing:
Matomo On-Premise is available for free, with extra costs to unlock more advanced features and plugins. This is hosted on your own server.
Matomo Cloud is available for $29.00 USD and includes data hosting on Matomo’s own servers. You can try it out for free.
#5 – Semrush
Semrush is – as the name suggests – an analytics tool designed for website owners that are primarily concerned with search engine marketing. It’s an all-in-one marketing and web analytics tool that offers robust SEO and PPC data tracking.
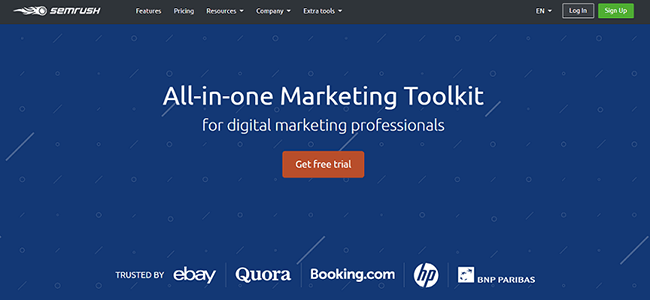
Semrush is ideal for those who want to gather data on other websites. Data is estimated but incredibly useful.
Marketers can also take advantage of their suite of keyword research and analysis tools to compare their traffic with competitors, find juicy low-competition keywords, and more.
You can also utilize their SEO writing assistant to aid with content optimization. This feature checks your content to ensure it’s SEO friendly and provides tips on how to adjust it for readability and tone in order to give you the best chance of ranking for your target keywords.
Pricing:
Semrush PRO starts at $129.95 per month. A free trial is available.
Read our Semrush review.
#6 – Semrush Traffic Analytics
Semrush Traffic Analytics is Semrush’s answer to Similarweb. It’s a competitive intelligence add-on to their core product that isn’t included in any of their plans – it’s charged separately.
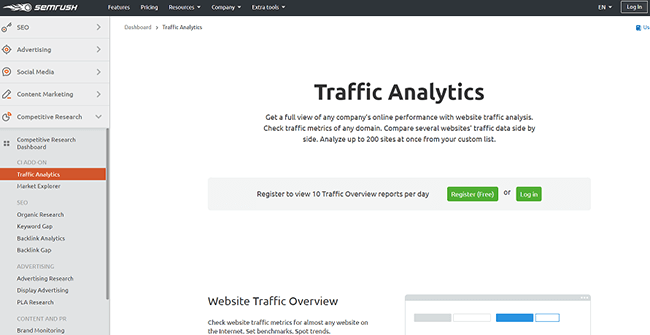
But believe me, it’s more than worth the extra cost if competitor analysis is important to you.
The tool allows you to spy on your competitors to see what keywords they’re ranking for, estimate how many monthly website visits they’re generating, who their audience are, where they’re coming from, and more. Their bulk traffic analysis feature lets you analyze up to 200 sites at once.
You can also compare your website’s share of your target audience with theirs and up to five competitors using their audience insight tool, find out which of their pages are performing best, find out who their major referring sites are, and so much more.
You can use this kind of data to evaluate a new niche, find keyword gaps, generate new content ideas, and inform your outreach strategy.
Pricing:
Semrush Traffic Analytics add-on costs $200/month in addition to your regular pricing plan.
#7 – Kissmetrics
Kissmetrics aims to help website owners to dig deeper and go beyond surface-level data like session time and bounce rate to get to what really matters: user behavior.

The guys behind their web analytics tool believe that people matter more than sessions, so they created a tool to figure out who the customers are behind the clicks and track their journey across multiple devices.
Unlike Google Analytics, which tracks data anonymously, Kissmetrics ties each action on your website to a person so that you know who your audience is and how they behave on your site. One practical upshot of this is that it gives you a more accurate view of how many real people are landing on your website.
For example, if the same person accesses your website on multiple devices, Kissmetrics connects all those visits to a single person, whereas Google Analytics assumes each visit is from a different person.
If you base your analysis of your website performance on Google Analytics data, you can end up seeing lower conversion rates than you’re really getting. This isn’t a problem with Kissmetrics.
Pricing:
Both the Kissmetrics SaaS and Kissmetrics E-Commerce tools start at $299/month. Their gold plan starts at $499/month. If you need a custom solution, you can request a quote.
#8 – Hotjar
Hotjar is another popular web analytics tool designed to offer deeper insights than you get from traditional web analytics tools. While Google Analytics tells you what actions your website visitors take, Hotjar helps you uncover why they take those actions.
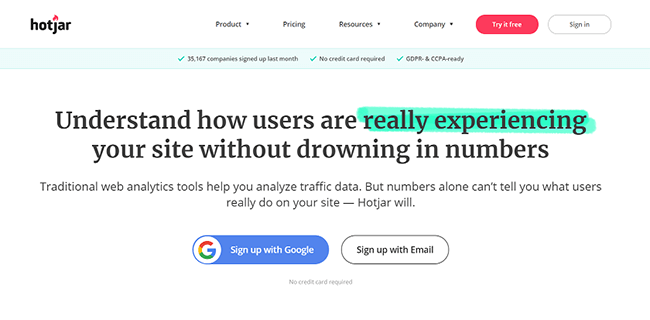
It includes advanced features that you don’t get with many other web analytics tools, like heatmap analysis and VoC user feedback.
Price:
Hotjar Business starts at $99/month.
You can try Hotjar for free for 15 days.
#9 – Mixpanel
Mixpanel is a ‘products analytics tool’ built to help you to get to know your users and uncover useful insights about how they use and interact with your products.
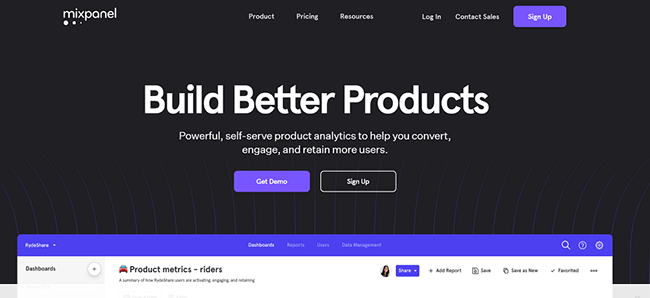
It’s simple, affordable, and powerful. Some of the features worth mentioning are interactive reports, group analytics, limitless segmentation, team dashboards, data management, and more.
It’s a very scalable analytics tool that even high-growth companies won’t outgrow.
Pricing:
Mixpanel is available for free up to 100K monthly tracked users with limited functionality. Their growth package starts at $25/month. Enterprise users can contact their sales team for a quote.
#10 – Countly
And last but not least, we have Countly, a tool that bills itself as the ‘best web analytics platform to understand and enhance customer journeys’. They’ve created a solid platform that tracks all the major data points marketers want to see in a single secure dashboard.
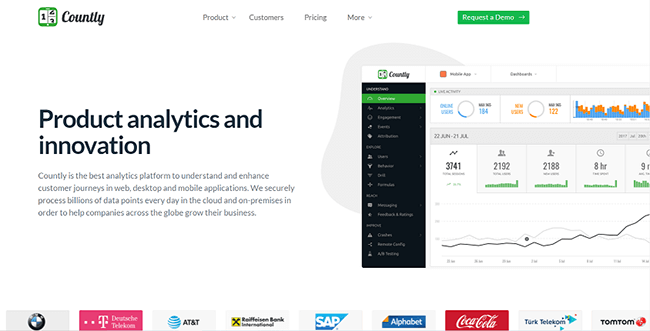
They offer both an on-premises or private-cloud version of their tool, both of which give you 100% data ownership. If you want to extend the functionality of the analytics platform to better fit your business needs, you can do so by creating your own plugins.
Pricing:
Countly Community Edition is free forever. Custom prices available for Enterprise plan.
Finding the best web analytics tool for your business
As you can see, there are plenty of great options out there. To find the best web analytics tool for your business, you’ll need to think carefully about your web analytics strategy. Ask yourself:
- What goals are you trying to achieve?
- Which metrics are important for you to measure?
- How much flexibility do you need?
- Are there any specific features you need to utilize, like heat maps to find where your users are clicking?
- Do you want to avoid platforms with a huge learning curve?
- Do you plan on growing quickly and need something that’ll scale up with your traffic?
- What’s your budget?
Factor all this in and compare your options to find the right tool for you. And don’t forget, usability is important too, so make sure you take advantage of free trials before you commit to any single tool to get a feel for how it works and make sure it’s a good fit for your business.
Clicky Analytics, and Fathom Analytics – our top two picks for most users – both have free trials/plans available, so I recommend starting there.
Related reading:
Disclosure: Our content is reader-supported. If you click on certain links we may make a commission.

