How To Create A Pricing Table In WordPress 3 Easy Steps

Pricing tables are very important when you’re selling a product or service on your website. They help tremendously in impacting the user’s decision.
To create a pricing table in WordPress, you can either use custom code or a WordPress plugin. There are many WordPress plugins you can use to create pricing tables on your website.
But a lot of them are difficult to use and have a very long process to even create a simple table. Wouldn’t it be great to create a pricing table in just minutes?
In this article, we’re going to talk about how you can create a pricing table in WordPress with just 3 simple steps.
How to create a pricing table in WordPress
To create the pricing table, we’ll be using the WP Table Builder plugin as it has a very simple and straightforward process for creating tables.
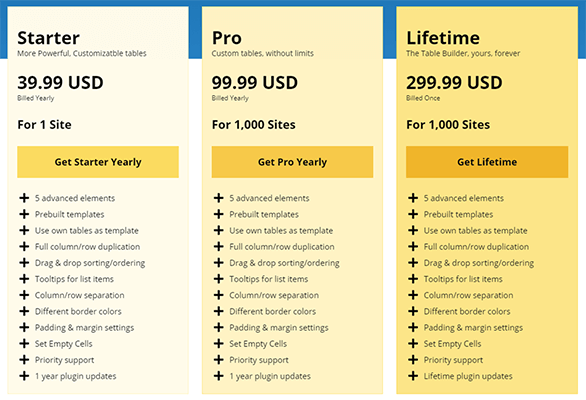
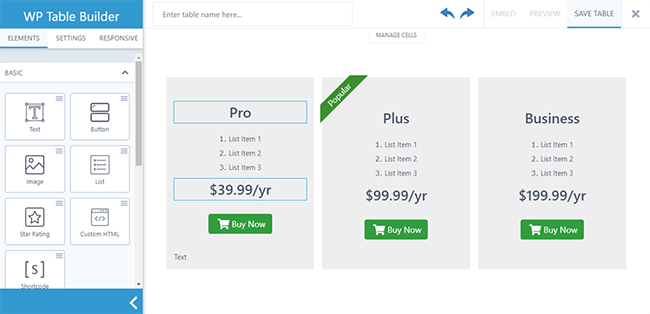
We’ll be creating a pricing table that looks exactly like this:
Let’s get started.
Step 1: Install & activate the ‘WP Table Builder’ plugin
To install and activate the WP Table Builder plugin on your website, go to Plugins > Add New in your WordPress dashboard.
Search for ‘WP Table Builder’ and click on the Install Now button.

After the plugin is installed, click on the Activate Now button and your plugin will be ready to use.
Step 2. Create a pricing table
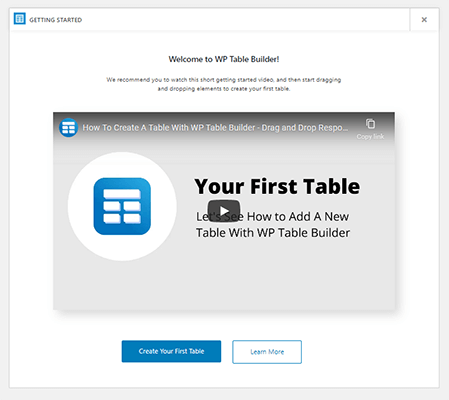
Once you activate the plugin, you’ll be redirected to the welcome page of the plugin where you can get started.
Click on the Create Your First Table button to get started with the table creation process.
Once you click on that button, you’ll land on the WP Table Builder interface where you can create your table.
You’ll see a sidebar panel with elements that you can drag-and-drop onto your table.
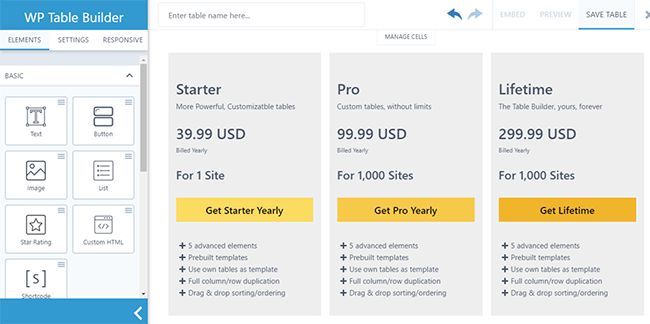
To create a pricing table, we’ll be using a prebuilt template offered by the WP Table Builder plugin. It’s important to note here that the prebuilt templates are only available in the pro version of the plugin.
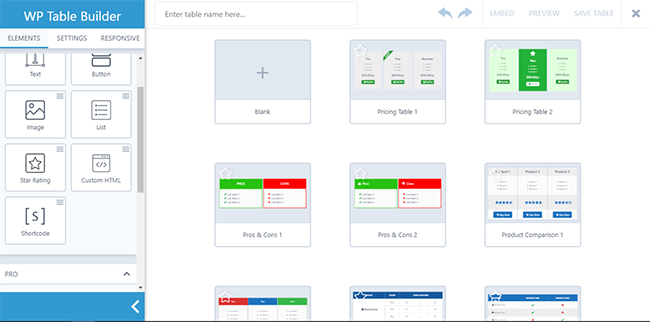
Let’s select Pricing Table 1 as our template for the pricing table.
After selecting the template, you’ll be able to choose the number of columns and rows you want to add to your table. This is pretty neat and makes the whole process very smooth and fast.
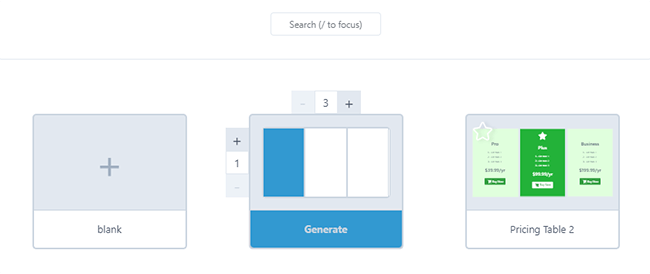
After selecting the number of columns and rows, click on the Generate button to create your table.
Once your pricing table is generated, it’s only a matter of adding information and customizing its style.
You can select and customize different elements and add new elements to the table from the sidebar panel.
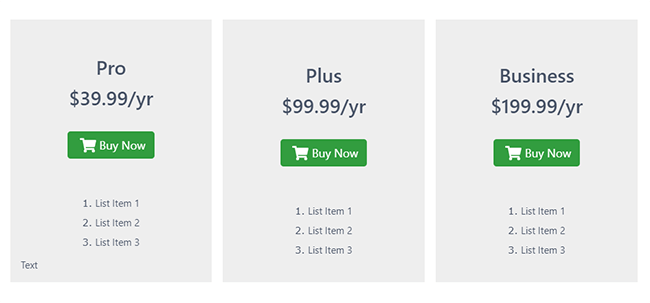
To create our desired pricing table, let’s first add all the necessary information to the table. We’ll start by moving the Price and the Buy Now button above the list items.
We’ll also remove the Popular text ribbon from the table. Here’s what the table looks like now:
Now, it’s time to add more information about each plan.
As you can see, the table is starting to look like our desired result. Let’s add the list of features to our table.
To add this, go to Elements and insert the Text Icon element to your table.

To change the icon, select the element, and go to the Icon tab. Here, you’ll be able to change the icon from a list of given icons.
After adding the list of features, our pricing table is almost ready.

It’s time to customize the table. Let’s start by adding spacing between elements. We’ll add some spacing between the price and the plan names.
Select the Price text element and scroll down to the spacing settings in the sidebar panel.
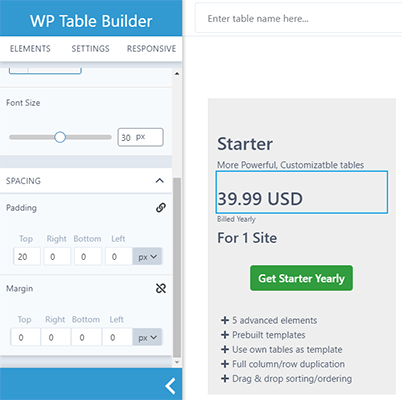
In the Padding section, add 20px padding to the top. Similarly, add padding to other elements for proper spacing.
The next step in styling our table is customizing the buttons. Select the button element and change the button size to Large.
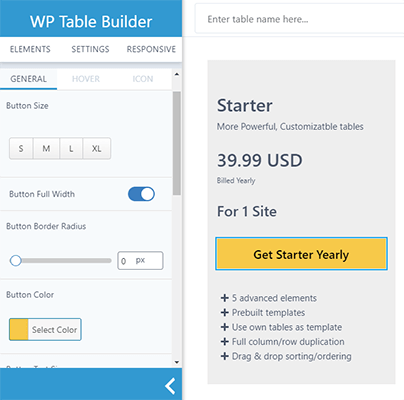
Also, enable the Button Full Width toggle and change the border radius to 0. After making these changes along with changing the button color, our table is looking a lot like our desired table.
The last step in our table styling is changing the background of each column of the pricing table.
Click on the Manage Cells button at the top of the table and click on the first column. You’ll be able to see the settings in the sidebar for that specific column.
From these settings, change the Cell Background Color.
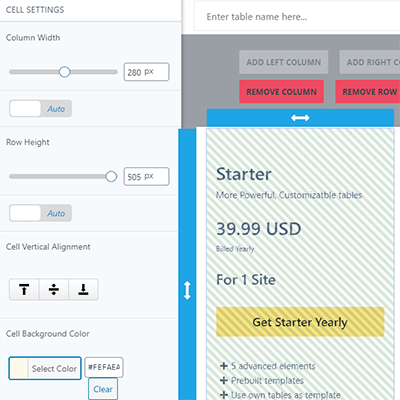
After changing the Cell Background Color of each column, your table should look like this:
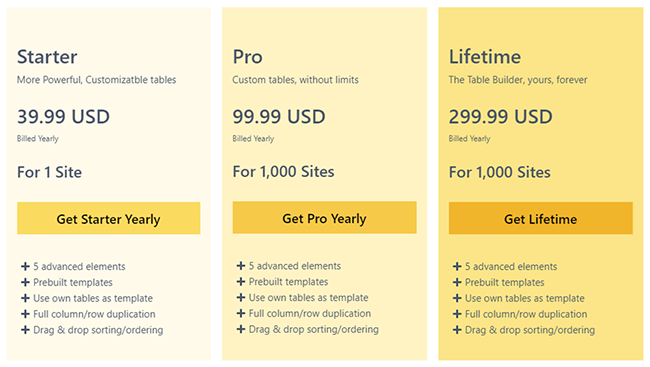
We’ve successfully created a beautiful and high-converting pricing table using the WP Table Builder.
Let’s move on to the next step which is placing your table on your website.
Step 3. Place your table
Placing your pricing table using WP Table Builder is very simple. The plugin offers two ways of doing this.
Using Shortcode
Once your table is created, click on the Embed button and you’ll see a popup open with the shortcode.
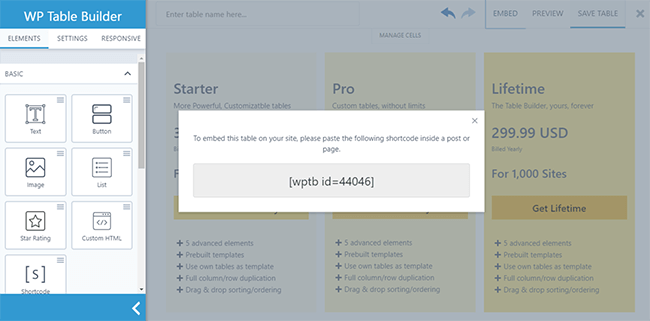
You can insert this shortcode anywhere on your website to embed your table.
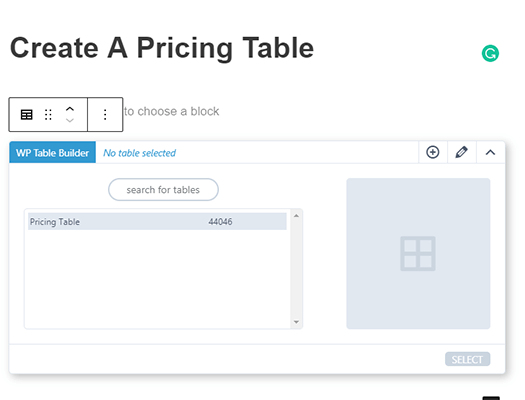
Using Gutenberg Block
Another way of placing your table is by using the Gutenberg block that comes with WP Table Builder.
In your post/page editor, click on the insert block icon and search for ‘WP Table Builder’.
Insert this block and choose the table you want to insert.
Once your table is inserted, you can preview your post and page to see how your table looks.
Conclusion
And that’s it! This is one of the easiest and fastest ways to create a pricing table in WordPress. WP Table Builder plugin is very intuitive which makes the whole process very simple and easy.
You can create all kinds of pricing tables using this plugin. The prebuilt templates that come with this plugin make the job a lot easier.
If you’re looking for the best table builder plugin for WordPress, there’s nothing else that combines simplicity and great looking tables in the way WP Table Builder does.
Disclosure: Our content is reader-supported. If you click on certain links we may make a commission.