How To Add An Online Order Form To WordPress

Do you want an easy to way to add an online order form to your WordPress site?
Online order forms give you more freedom when it comes to the way customers order products or food items from you. Plus, it cuts out the shopping cart, which is always in danger of being abandoned at any time during the checkout process.
In this article, we’ll show you how to add an online order form to WordPress.
6 steps to adding an online order form to WordPress
We’ll be using Kali Forms for the purpose of this tutorial. Kali Forms is a powerful contact form plugin for WordPress that uses an intuitive, user-friendly form builder and a clean interface overall. A few of its most noteworthy features include multi-page forms, the ability to collect payments, predefined templates and dozens of form fields.
Kali Forms is a freemium plugin, but if you want to collect payments, use templates and have access to additional features, you’ll need a premium license. Pricing starts at $29/year for one site license. This activates the PayPal integration. You’ll need to upgrade to one of the higher tiers to activate the Stripe integration.
Install the free version of Kali Forms prior to installing the premium version. Once you’ve activated your license, go through the extensions you want to install. The Kali Forms Submissions and Kali Forms Payments extensions are especially important for this tutorial.
Once you’ve configured a few more settings to ensure email deliverability, you can get to work on your order form.
Step 1: Create a form
Kali Forms doesn’t have an order form template, so start by creating a new form by going to Kali Forms → Add New and creating a new blank form.
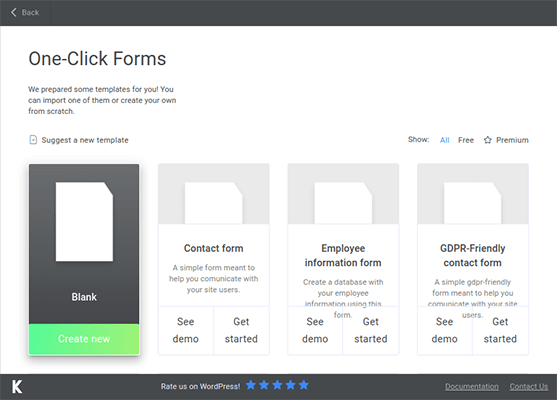
You’ll be taken directly to the form builder where you can start adding your desired form fields.
Step 2: Determine what information you need to collect
Not all order forms are created equal. All forms need to collect your customers’ names and email addresses at the very least. If you sell physical products, you’ll need their addresses as well.
Decide for yourself if you need your customers’ phone numbers or not. This information is most useful to businesses who sell products that deliver immediately, such as food delivery.
You should also determine if your business should offer time slots that dictate when items should be delivered or made ready for pickup.
Next, determine what types of products you sell and how you want to sell it on your form. Kali Forms has two product form fields, one for single products and one that allows you to select one of many variations.
These form fields are designed to tally an order total at the bottom of the form, but if you have variations that don’t cost extra money because you sell your products as a whole unit, you may want to use a combination of the single product form field and choice-based form fields.
Lastly, determine how you want to accept payments: PayPal or Stripe. Fortunately, Kali Forms does have an option for both.
Step 3: Add customer detail form fields to the form builder
You should have a list of the things you need to include on your form. Now, it’s just a matter of turning them into form fields. Let’s start at the top with the following information and the form fields you can use to create them:
- Name – Text box
- Email Address – Email
- Address – Three text boxes
- Phone Number – Phone
Feel free to exclude anything you don’t need.
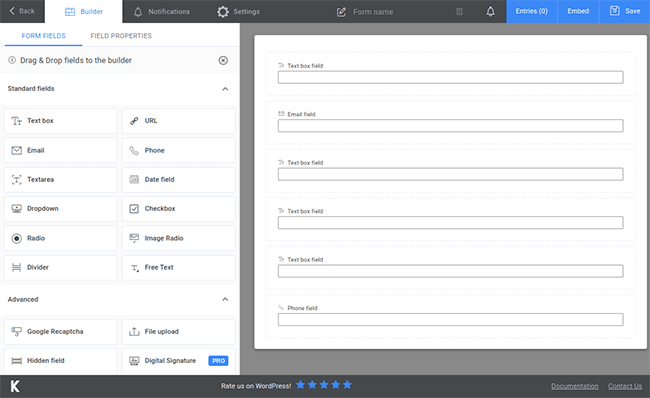
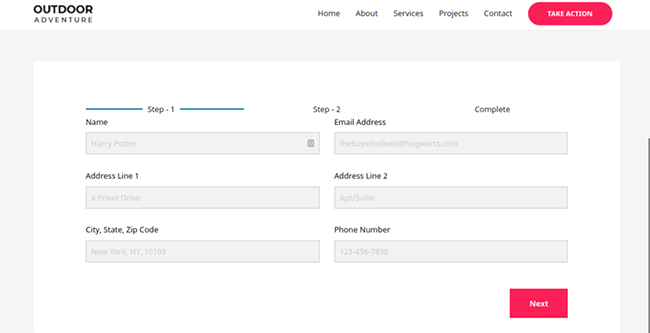
Once you drag and drop the fields in the form builder to the right, you’ll end up with this:
Click on a field to edit its individual properties. For these fields, filling out the Field Caption and Field Placeholder properties will suffice. Don’t bother filling out the description as the label you assign to the Caption property should be self-explanatory.
For the Placeholder properties, input examples of the information you’d like your customers to enter. For name, you can put “First and Last Name,” “John Doe,” etc.
Also, be sure to enable the Required property for each.
The form is looking a little long already, so take a moment to use the width adjustment tool (located under the trash icon of each field) to make the name, email address and address fields a little shorter so you can place them alongside one another.
The result should look a little something like this:
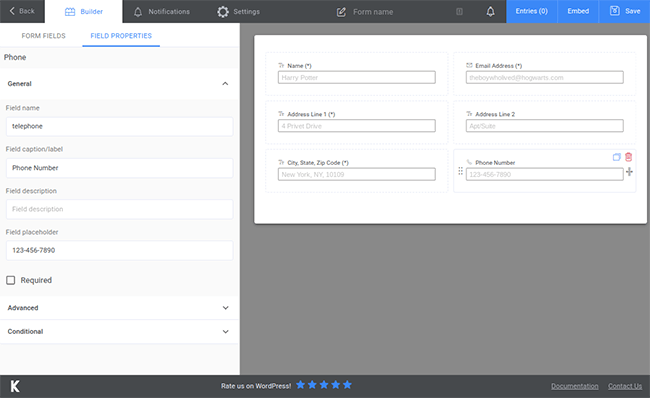
Let’s move on.
Step 4: Break your form up into multiple pages
Add the Page Break field underneath your last customer detail field. This breaks your form up into multiple pages where each chunk between page breaks represents a new page.
Don’t worry. These pages don’t actually load a new page in the browser. The next set of form fields will simply display when a customer clicks the Next button.
Online order forms are notorious for being long. Encourage customers to complete their orders by only showcasing a bit of information at a time.
Also, be sure to add your form’s shortcode to a page using the Gutenberg Shortcode block to view it on the frontend throughout the building process.
Step 5: Add additional fields
Use the list you brainstormed in Step 2 to determine which additional fields you should add to your form. These could be the Date and Time Picker field, the Checkbox field, the Dropdown field or even the Color Picker field.
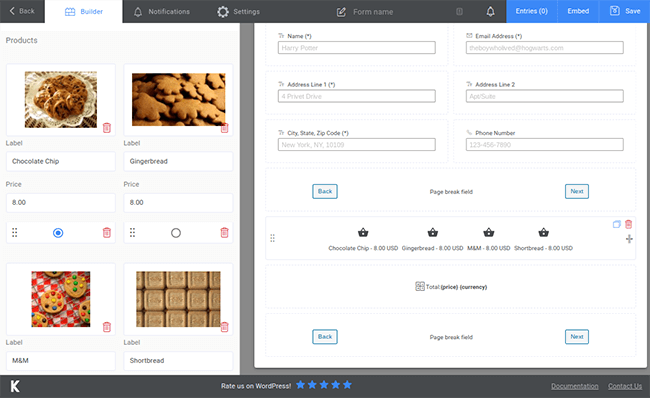
The Product and Multiple Products fields are what you’ll want to use to add products to your form. The Product field is for single products, and it adds whatever price you charge to the total automatically.
The Multiple Products field allows you to add different products or variations of products at different prices, and your customer gets to choose which one they want to purchase. This could be the only six products you sell, the same product but in different variations, different bundles, different ingredients if you’re a restaurant, etc.
The Multiple Products field does not have a multi-select option nor can your customer add more than one quantity, so you’ll need to add another Multiple Products field if you want them to be able to buy more. Just be sure to create a blank product labeled “None” with a price of $0 in each additional set of Multiple Product fields you use.
Add a text area after this so customers can provide notes, then add another page break before we get to the payment section.
Step 6: Setting up payments
Add the Total field beneath the page break so your customer can see their total before they pay.
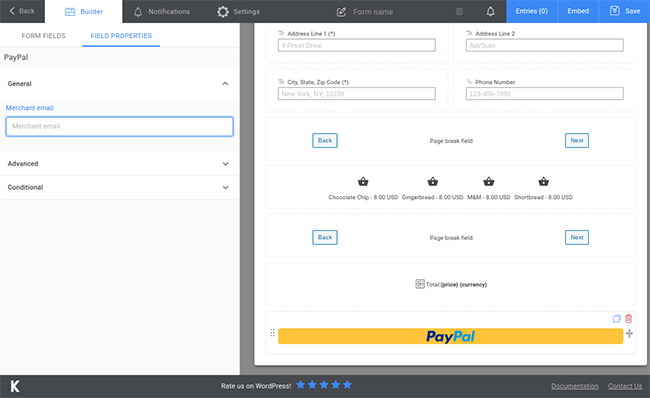
Open the Settings page. Go to Payments to set up PayPal and Stripe settings to set up Stripe. You can also use both. Either way, you’ll need to log into their dashboards to set up API keys, then input them here.
Next, add their respective buttons to the form builder. Kali Forms will offer to add both payment methods to your form for you if you try to add both. If you’re using PayPal, you’ll also need to input your merchant email address. This is the sandbox email address provided for you if you’re using a sandbox app. If you created a live app, use the email address you use to log in to PayPal.
Go through the General, Form Styling and Spam Protection sections and configure those settings as well. Kali Forms also integrates with many popular email marketing platforms, which will allow you to send customer receipts and order updates.
You can set up this integration by installing the Newsletter extension on the Licensing page, entering your email marketing platform’s API key in the Newsletter section of Kali Forms’ global settings and configuring the settings in the Newsletter section for your individual form.
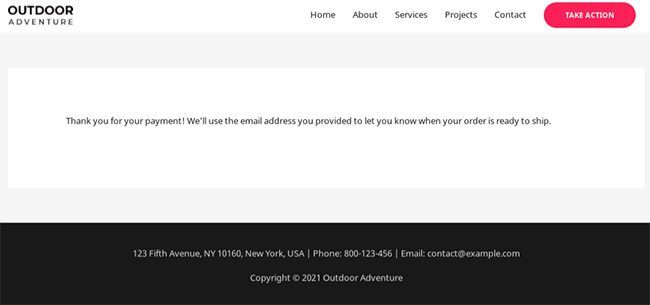
Now, you’re ready to start accepting payments and completed form submissions, after creating a page for your form and adding its shortcode to it, of course.
Let’s wrap up.
Final thoughts
Once you start receiving form submissions, you can view them on the Form Entries and Payments pages of Kali Forms’ settings. You can also track user behavior through Google Analytics if you have one of the high-tiered licenses.
Remember, you can get started with Kali Forms free of charge. Integrations for PayPal and major email marketing platforms is available with the cheapest license at $29/year.
Disclosure: Our content is reader-supported. If you click on certain links we may make a commission.