7 Best Email Capture Tools For 2024 (Comparison)

Are you looking for the best email capture tools to generate more leads and subscribers for your business?
Email marketing has been proven to be 40x more effective than social media marketing. And it drives higher ROI than any other marketing channel.
A great email capture tool is just what you need to start making the most of your web traffic and converting those clicks to leads.
In this article, we’re breaking down the best email capture tools available.
The best email capture tools for lead generation – summary
- ConvertBox – Best all-in-one lead generation and email capture tool overall. Feature-packed and great value for money.
- Thrive Leads – Best email capture tool for WordPress Users.
- Leadpages – Best all-in-one lead generation tool for small businesses.
- Optinly – Most affordable email capture tool.
- Getsitecontrol – Best email capture tool for creating pop-up forms.
- Convert Pro – Another WordPress email capture tool. The plugin is modular so you can disable features you don’t need to improve performance.
- OptinMonster – Another useful email capture tool.
#1 – ConvertBox
ConvertBox is a lead generation tool with powerful email capture capabilities. The SaaS platform can be seamlessly connected to your WordPress site and used for a range of lead generation tasks.

What’s great about ConvertBox is that it’s a super simple tool to get your head around. Creating forms to capture email addresses is a breeze with this tool. The simple drag and drop builder makes it easy to create and customize your forms to suit the design of your site and your business branding.
ConverBox offers a range of different form types including embedded forms, full-page forms, popovers, and more, so you can choose the form that you think will work best for capturing the attention of your site visitors.
And what’s more, ConvertBox can be used to run A/B testing, so that you can ensure that your forms are optimized perfectly for collecting email addresses.
Another great feature of ConvertBox is the Intelligent Targeting function. Using this function, you can target your videos with personalized messages based on data from your email service provider and your own customer relationship management data. Other useful features include segmentation funnels and real-time tracking.
All in all, it’s the perfect tool to use for creating and optimizing your email capture forms for lead generation.
Pricing:
ConvertBox is currently offering early lifetime access for $495. You can also upgrade to a Pro account for an extra $90.
#2 – Thrive Leads
Thrive Leads is a lead generation plugin that can be installed easily on WordPress sites. The all-in-one tool makes it easy to create a range of different forms to capture email addresses. The different types of opt-in forms include popup lightbox forms, in-line forms, slide-ins, widget area forms, and more.
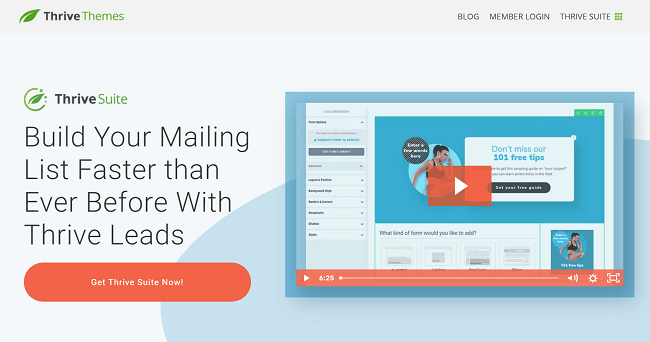
Thrive Leads is the perfect email capture tool if you want a quick and easy solution for form building. The tool includes access to pre-designed templates that will allow you to deploy email capture forms on your webpages in just a few clicks.
Like ConvertBox, Thrive Leads also had drag and drop functionality, that allows you to customize and optimize your email capture form for lead generation.
Once your forms are designed, you can then use the targeting features to customize when and where your form appears as well as choosing which actions will trigger the form to appear. Like many tools on this list, Thriveleads also has an A/B testing function that will allow you to further optimize your forms and choose the options that convert.
Another great feature of Thrive Leads is SmartLinks. SmartLinks allows you to display different offers to people that are already subscribed to your mailing list. This is great for preventing duplicate email capture and further nurturing leads and return visitors to your site.
Note: Thrive Leads is a plugin that can only be used on WordPress sites.
Pricing:
Thrive Leads is $99/year (renews at $199/year thereafter), or is available as part of the Thrive Suite, which includes other tools like Thrive Theme Builder as well as quiz building tools, course building tools, and more. Plans start at $299/year (renews at $599/year thereafter).
Read our Thrive Leads review.
#3 – Leadpages
Leadpages is a powerful sales and lead generation tool that will allow you to create email capture forms, landing pages, alert bars, and more. If you’re a small business looking to optimize your site for leads and sales, as well as growing your email list, this all-in-one tool could be just the ticket.

This tool includes everything you need for creating email opt-in pop ups and it includes analytics features that can help you to test and optimize your forms efficiently.
As well as having a drag and drop builder that allows you to create your own form designs, it also includes a wide selection of templates perfect to collect email addresses.
Leadpages is also a great choice for non-WordPress users, as you can deploy your forms on a range of platforms including Squarespace and Wix.
Overall, it’s an extremely affordable all-in-one solution that can help small businesses to improve conversion rates and build their email list.
Pricing:
Prices start from $37/month for one site.
Read our Leadpages review.
#4 – Optinly
Optinly is the perfect email capture tool for growing businesses, thanks to the fact that there is a limited free plan available.

This affordable option includes much of the functionality of other pop-up form generators and allows users to create a range of attention-grabbing forms including:
- Exit-intent pop ups
- Floating sidebars
- Gamification pop ups
- Full-screen overlays
- Notification pop ups
- Time delay pop ups
You can also use the tool to collect feedback and run surveys to improve your lead generation efforts. Although slightly limited, the free version of this tool offers a range of great features including analytics, ESP integration, and more.
Overall, it’s the most budget-friendly option to create pop ups for collecting email addresses.
Pricing:
Optinly offers a free plan which gives you limited access to the tool. Paid plans start from $9/month.
#5 – Getsitecontrol
Getsitecontrol is the go-to option for creating pop ups to capture email addresses. Granted, pop ups are not everyone’s cup of tea, as they can sometimes be intrusive, and hinder the user’s experience.
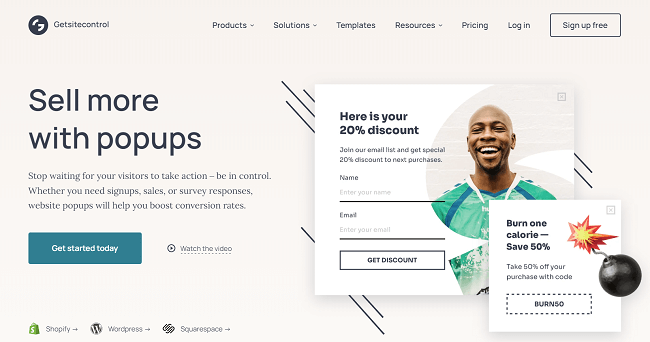
However pop ups can be effective when it comes to collecting email addresses, and Getsitecontrol reports that users experience 250% list growth when using targeted email opt-in pop ups. Pretty great, right?
Getsitecontrol gives users access to a wide range of email capture popup templates that are ready to use. The templates are perfectly optimized for conversion and offer users a simple way to deploy professionally optimized pop ups on their site.
When it comes to targeting and triggering, Getsitecontrol has some really useful features. You can trigger pop ups based on parameters like scroll depth, location, language, time on page, and more.
You can also set up your pop ups to appear when users interact with certain elements on your page. Furthermore, you can set your forms to appear based on information gathered about how visitors have interacted with other pop ups on your site.
Getsitecontrol also has a useful dashboard that you can use to track everything that is going on in relation to your popup forms, and you’ll even receive updates every time your form is viewed or an email is captured.
Overall, Getsitecontrol is a focused but useful tool that is perfect for creating visually interesting and optimized popup forms for lead generation.
Pricing:
Plans start from $7/month for 20,000 monthly widgets
#6 – Convert Pro
If you’re keen to get your forms up and running quickly, Convert Pro may be the email capture tool for you. Providing your site runs on WordPress, that is.
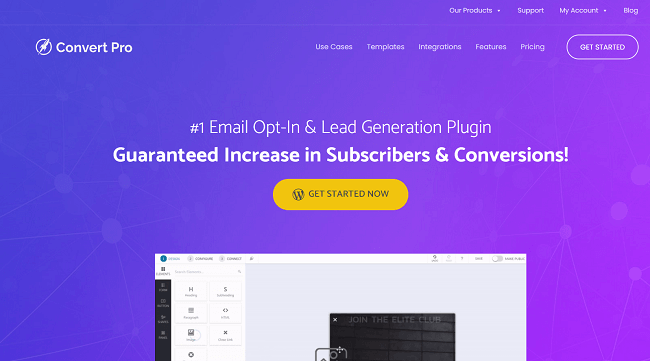
Not everyone wants to spend hours A/B testing and optimizing forms, which is why it’s a good idea to choose a tool that gives you access to hundreds of tried and tested templates, and Convert Pro does exactly that.
As well as its extensive library of pre-designed templates, Convert Pro also offers a drag and drop editor to create new forms quickly.
One of the standout features of ConvertPro is that it allows users to create mobile-specific forms to capture email addresses.
This can be a huge plus if most of your traffic comes from mobile devices. With Convert Pro, you can ensure that all of your forms are perfectly designed to be viewed and completed on screens as small as smartphones.
Some form types available on Convert Pro include:
- Pop ups
- Slide-ins
- Embedded forms
- Widgets
- Full-Screen pop ups
- And more
You can also use Convert Pro advanced triggers to deploy your forms at opportune moments such as when visitors arrive on your site, when they scroll, or when they are showing signs of leaving the site. In addition, you can target visitors with certain forms based on information like which site they arrived from, what device they are using, and more.
Another great feature of Convert Pro is that it integrates seamlessly with Google Analytics, meaning you can easily track the success of your forms in relation to your web traffic, and run tests to optimize your forms further.
It’s also worth mentioning that Convert Pro is modular. This means you can disable core features you don’t need. This is great for improving the performance of your WordPress website.
Pricing:
Yearly plans start from $99. Alternatively, you can purchase a lifetime package for $399.
Convert Pro also offers a growth bundle for $249/year. This plan includes access to a range of plugins and themes for WordPress as well as Convert Pro.
Read our Convert Pro review.
#7 – OptinMonster
OptinMonster is a lead capture tool with a plugin that can be installed on your WordPress site.
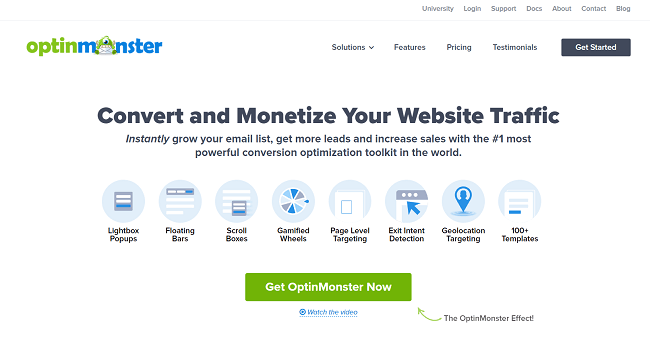
The tool is one of the most popular opt-in form builders out there – and for good reason. For an affordable price, users get access to a range of different form types including:
- Lightbox Pop-up forms
- Fullscreen Welcome Mat Forms
- Slide-In Scroll Box Forms
- Floating Bar Forms
- Inline Forms
- Sidebar Widgets
- Content Lockers
- Coupon Wheels
- Countdown Timers
OptinMonster gives users access to a broad library of form templates that can be easily deployed on your site. If you prefer to build your own forms for capturing email addresses, there is also an easy-to-use form builder tool that allows you to create visually impressive and optimized forms in just a few clicks.
If you’re a lover of A/B testing and analytics, OptinMonster is the form builder for you. The analytics and insights tool will give you access to real-time information about how your forms are performing, and you can use this data to carry out thorough split tests on all the elements within the form.
However, the real standout of OptinMonster is its targeting and personalization features. Using these tools, you can ensure that every visitor sees the most optimized email capture form for them.
For example, you can target forms using data like cookie information, Geolocation, device type, and more. You can also set forms to appear when specific actions are carried out, such as the amount of time spent on the page, intent to exit the page, and more.
All of these features will help you to ensure that your email capture forms are seen by the right visitors at exactly the right moment to maximize lead generation.
OptinMonster also integrates with major email service providers like Mailchimp, ActiveCampaign, and more.
Pricing:
Plans start from $9/month (Billed annually). However, a lot of the more important features are only available in higher plans.
Choosing the best email capture tool for your business
As you can see, there is a wide range of email capture tools available catering to different budgets and preferences.
All the tools in this list are useful in helping you be successful in your email marketing strategy, and are well worth the money, but if we had to choose just a few of the best email capture tools, we’d recommend:
- ConvertBox for an all-in-one lead generation tool with powerful email capture functionality.
- Thrive Leads for the best dedicated WordPress email capture tool on the market.
- Leadpages for an affordable lead generation platform for small businesses. Includes landing page builder, website builder, and more.
Of course, it depends on what your business needs, and the type of forms that you’re looking to use, but you really can’t go wrong with any of the tools in this list.
Take your email marketing to the next level and take one of these email capture tools for a spin.
Many of these email capture tools have a free trial or a money-back guarantee. So you can try them out to ensure you find the right tool for your lead generation needs.
Disclosure: Our content is reader-supported. If you click on certain links we may make a commission.
