How To Add A Photo Gallery To Your WordPress Website


Are you looking for a stylish and user-friendly way of displaying your best photographs to site visitors?
Being able to showcase your photography in WordPress is one of the best ways to attract interest in your brand and encourage people to stick around and see what you have to offer. The problem is, many of the top WordPress image gallery plugins don’t offer what you need to get the job done.
In this post, we’re going to show you how to add a photo gallery to your WordPress website using a freemium plugin called Modula.
What is Modula?
Modula is a freemium gallery plugin that comes with all the features you need to display beautiful image galleries in your WordPress website.
This gallery solution helps creatives of all types – photographers, designers, artists, and more – create fully customizable image galleries without having to know a lick of code.
The free version of this photo gallery plugin comes with features such as social sharing icons, lightboxes and links, lazy loading for faster site speeds, and hover effects on both the cursor and images.
If you need something a little more powerful, the pro version of Modula comes with features like:
- White label functionality
- Lightbox slideshows
- Image zoom
- Download capability
- SEO deeplinks
- Watermarking and password protection
- Gallery albums
- Video galleries
- And much more
If you want to learn more about this photo gallery plugin, be sure to check out our detailed review about why Modula is the one of the best gallery plugins for WordPress.
How to add a photo gallery to WordPress using Modula
Now that you’ve decided to use Modula for your image gallery needs, it’s time to create a photo gallery in your WordPress website.
Step 1: Install and activate Modula
For this example, we’ll use the pro version of Modula. That said, you can follow the same steps we’re about to outline for you, even if you opt to use just the free version.
The first thing you’ll want to do is purchase a pro license of Modula. When you do, you’ll get both the plugin and a license key.
Next, you’ll want to go to Plugins > Add New in your WordPress dashboard. From there, search for Modula.
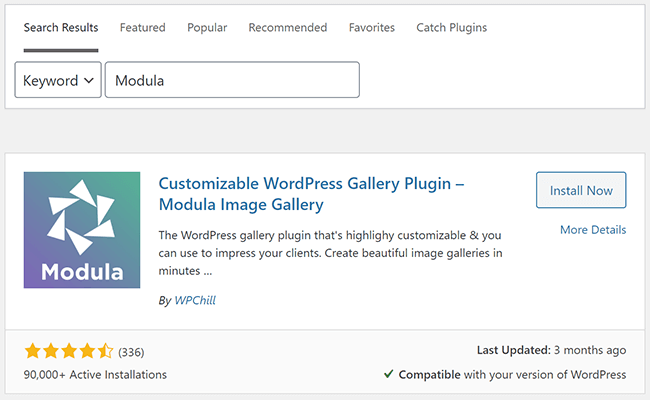
Next, click Install Now and then Activate.
Now that the free version of the plugin is on your site, it’s time to upload, install, and activate the pro version of the plugin if you purchased it.
To do this, go to Plugins > Add New in your WordPress dashboard and upload it to your WordPress website.
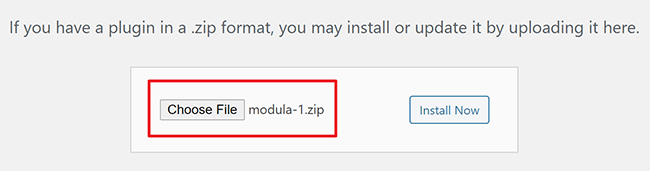
Then, click Install Now and Activate Plugin.
Now, go to Modula > Setttings in your WordPress dashboard to enter the license key.
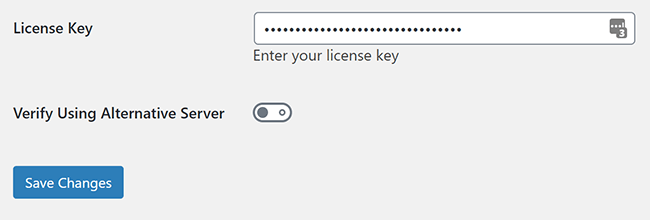
Click Activate License and then Save Changes when you’re done.
Step 2: Create a new photo gallery
Once both the free and premium versions of Modula are installed and activated on your site, it’s time to create your first photo gallery. To do this, go to Modula > Galleries in your WordPress dashboard and click Add New.
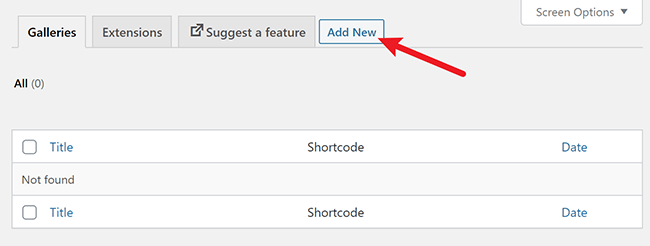
When you do, you’ll be taken to a new screen where you can start uploading your photos and customizing the gallery settings.
Step 3: Upload photos to your gallery
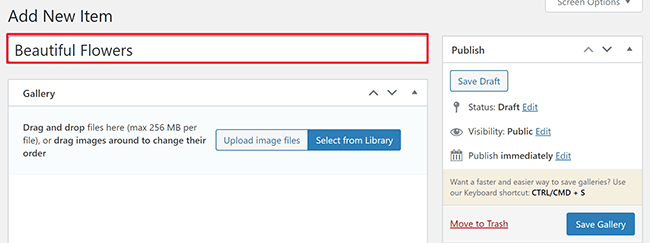
The first thing you’ll want to do after creating your first photo gallery is add a descriptive title to your gallery.
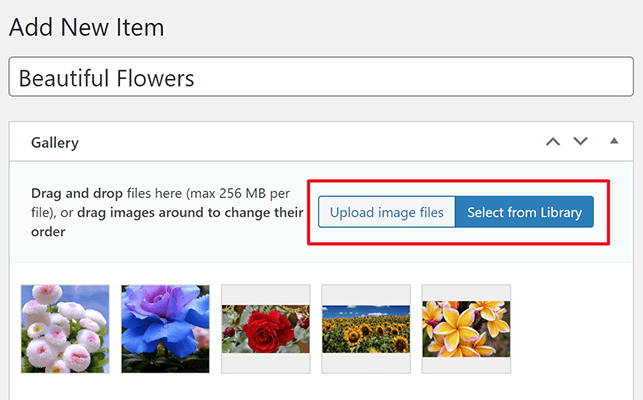
After you’ve titled your image gallery, you’ll want to upload your images. You have the option to upload images from an external source or select them from your Media Library. When you upload your images to your photo gallery, you’ll see them in the gallery editor.
If you don’t like the way the images look, all you have to do is use the easy drag-and-drop interface to rearrange your images to your liking. Just hover over the image and drag it to the position you want.
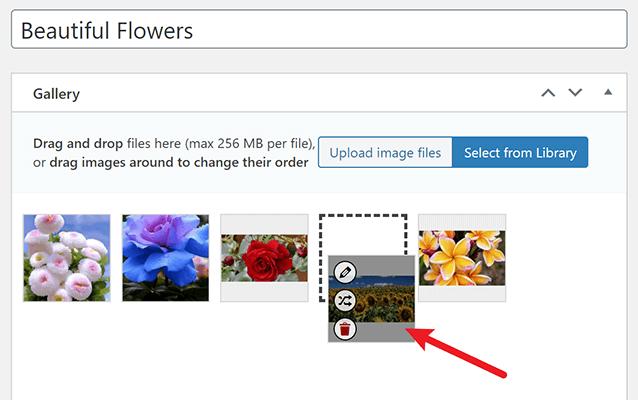
In addition, if you want to delete one of the images you upload, hover over it and click the trash can icon. It’s as simple as that!
Step 4: Customize your gallery settings
You’ll see below the gallery editor that there are a number of settings you can configure to make your photo gallery truly unique. These settings being right there in the editor make customizing your gallery a cinch.
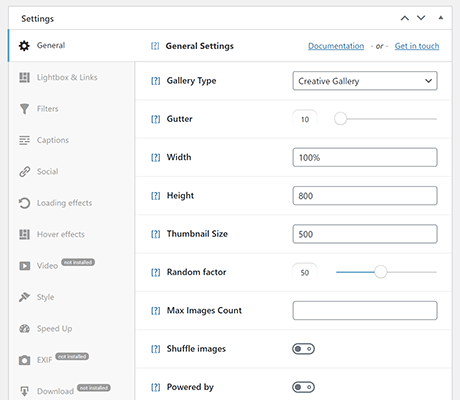
Here are some of the general settings you can configure:
- Gallery type (creative, grids, column, and slider)
- Gutter, or image spacing
- Width and height of gallery
- Thumbnail size
- Randomizing factors
- Max image counts
- Shuffle images with each page load
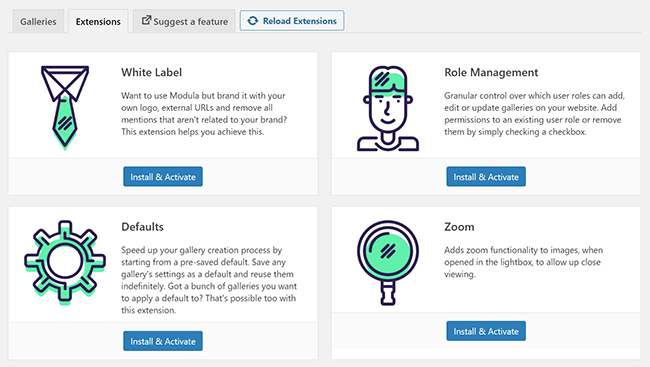
On the left you’ll also see all the optional extensions that come with the pro version of Modula. To use any of them, simply click on the tab and customize the settings.
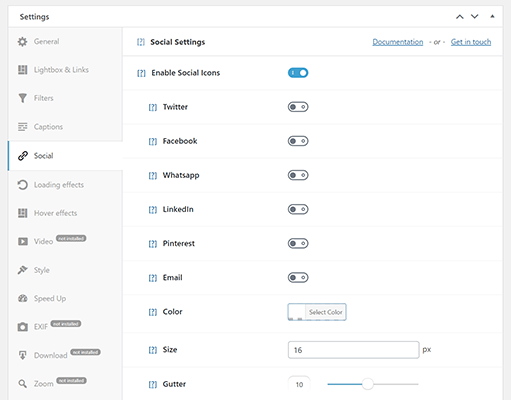
Some of the extensions you’ll need to install and activate. This is great because you might not want all of the extensions working on your site. Instead, you maintain control over your resources and loading times.
Lastly, you can sort your image gallery manually or by date created, date modified, or title. If you’re feeling really adventurous, you can even let Modula sort your images randomly.
Step 5: Publish and insert your photo gallery
When your gallery is customized to your liking, the next step is to publish your gallery by clicking Save Gallery. This saves all your changes and generates the shortcode needed to add a photo gallery to your WordPress website.
There are two shortcode options to choose from:
- Insert your photo gallery on any WordPress post or page.
- Display your photo gallery to users by clicking on a link or image.
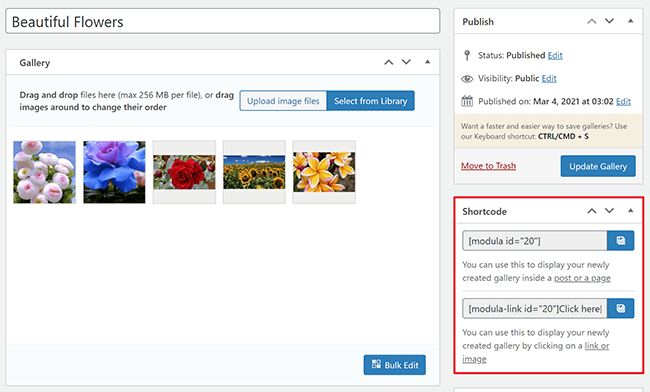
To add your photo gallery to your WordPress website just cut and paste the shortcode where you want it to display. Or, if you want to use the Gutenberg block, you can do that too right inside of a post or page.
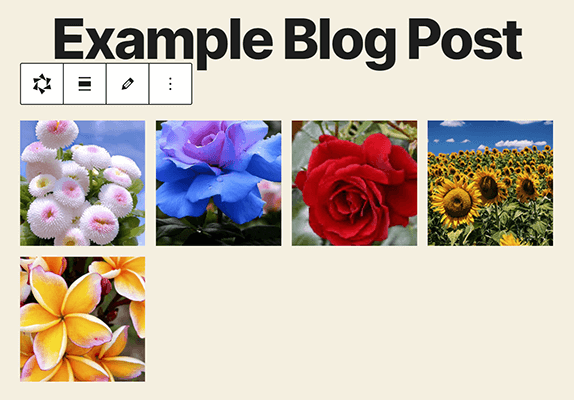
To do this, click to add a new Gutenberg block, type “Modula” in the box, and select Modula Gallery. Then, from the dropdown menu, choose the image gallery you want to display.
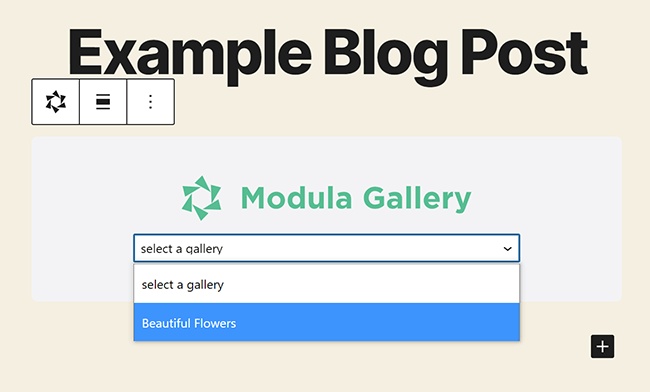
Doing this will automatically display your image gallery on your post or page.
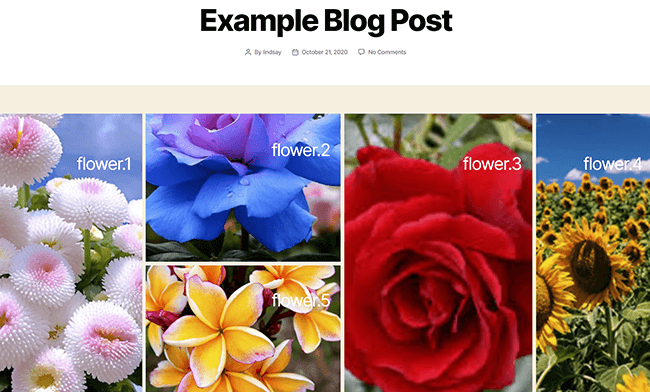
On the front end of your website, this is what your image gallery might look like:
Wrapping it up
And there you have it! You now know how to add a photo gallery to your WordPress website with the user-friendly and fully customizable Modula gallery plugin.
In the end, being able to display high-quality images on your WordPress website is one of the best ways to leave a lasting impression and boost engagement. Plus, if you happen to be starting a photography blog – and selling your photos online – you’re going to need an easy and feature-packed way to showcase what you’re offering your customers.
Disclosure: Our content is reader-supported. If you click on certain links we may make a commission.