14 Best Social Media Automation Tools For 2024 (Comparison)

Looking for the best social media automation tools? We’ve got you covered.
Social media can be hard work—particularly if you manage lots of different accounts across multiple social media platforms.
Fortunately, social media automation tools are there to help lighten the load. You can use them to streamline your workflow by automating repetitive, time-consuming tasks.
That includes things like creating content, scheduling posts, replying to comments and DMs, generating reports, and more.
In this post, we’ll be reviewing and comparing what we think are the best social media automation tools available this year.
The best social media automation tools compared
TL;DR:
- SocialBee – The best social media automation tool overall. Includes strong scheduling capabilities, analytics, AI caption generator, and more. Their standout feature is the AI Copilot which can generate an entire social strategy for you.
- Sendible – The best all-in-one social media tool with automation features. It also includes scheduling, social inbox, social listening, reporting, and more.
- Missinglettr – Their AI automatically turns your blog posts and YouTube videos into a 12-month social media campaign.
- Quuu Promote – Best to automate social sharing. Get your own content shared by real social media users.
#1 – SocialBee
SocialBee is hands-down the best social media automation tool on the market. You can use it to automate your entire social media strategy from start to finish.
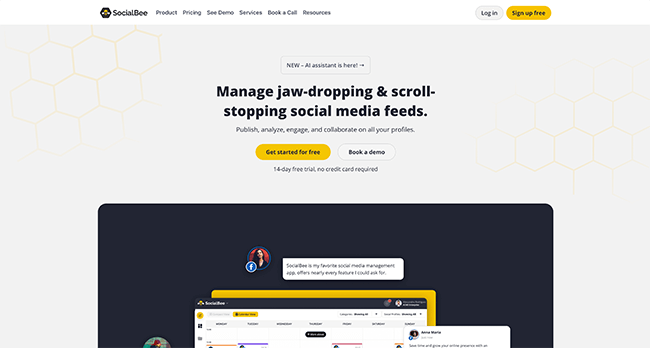
Unlike most other tools, SocialBee doesn’t just automate the easy stuff, like posting and generating reports. Oh no, it can automate pretty much everything for you.
The platform’s standout automation feature is its new Social Media Copilot. With it, you can create your entire social media strategy, automatically, in a couple of clicks.
All you have to do is answer some questions to help guide the AI (for example, you’ll be prompted to tell it about your brand tone, company, target customers, etc.). Then, click Generate, and SocialBee will take it from there.
First, it’ll determine which social networks (i.e. Facebook, Instagram, TikTok, etc.) would be best for you. Then, it’ll work out your ideal content mix and decide on some ‘content categories’. Your content categories might be things like curated news, promotional posts, quotes, etc.
After that, it’ll create a posting plan and set a schedule so that your posts get published at the perfect time.
And finally, SocialBee will generate your social media posts for you to fill out your content categories, and add them to your schedule to be posted automatically.
All that work usually takes weeks, but with SocialBee, it takes minutes. It can replace your entire team and do the job of a content strategist, social media manager, writer, graphic designer, and more.
Of course, you don’t have to use SocialBee to automate your whole strategy. You can also use the platform’s individual tools to do things like generate captions for your posts, schedule them in advance, manage your social inboxes, and more.
Key features
- Automate your post publishing with the social media scheduler
- Automatically recycle your best-performing content
- Automatically expire posts at specific dates or after a set amount of shares
- Automatically create posts from RSS feeds
- Plan your entire strategy with SocialBee’s Copilot
- Generate captions for your social posts with the built-in AI writer
- Organize your posts in content categories and queue them separately
- Design professional visuals with Canva, Unsplash, and GIPHY integrations
- Organize mentions, comments, and likes across all your socials in one unified inbox
Pricing
Plans start from $29/month, save 16% when you sign up to a yearly plan. Get started with a 14-day free trial.
Read our SocialBee review.
#2 – Sendible
Sendible is an all-in-one toolkit that you can use to automate common tasks across multiple social media channels, including Facebook, Instagram, Twitter, LinkedIn, YouTube, and TikTok.
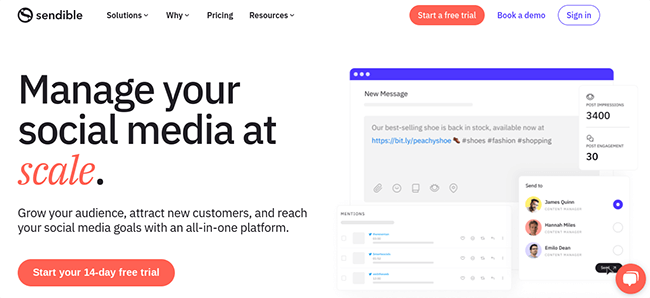
Sendible’s standout feature is its content calendar. I like how it’s populated with national and international holiday hashtags, so you can quickly see what’s happening on any given day of the year for quick and easy post ideas.
You can use the calendar to schedule all your social posts ahead of time, as far in the future as you want. Just choose the day you want the post to get published, and select all the profiles you want to post to on that date. Then, write your caption, and customize it for each network.
Adding emojis, hashtags, and visuals is super easy thanks to Sendible’s suggestion tools and media integrations.
You can upload visuals directly from your device or source them from Giphy, Pexels, Flickr, or Canva without having to leave the app. Sendible will automatically resize your images for each social network, so you don’t have to waste time doing it manually.
If you don’t want to schedule all of your posts one by one, you can create and schedule posts in bulk using the bulk composer.
Or even better, use the Queues tool. With the Queues tool, you group posts together into categories and queue them up to get posted on specific days at the optimal time.
When you add a new post to a queue, you can turn on recycle messages, and Sendible will automatically re-add them to the back of the queue when they get posted, so they get shared again at regular intervals. This comes in super useful for evergreen content.
Sendible’s priority inbox is another one of its biggest strengths. It significantly reduces the time you spend replying to comments/dms/replies.
Sendible will pull in all the most important engagements from all your connected social profiles and organize them in one place, so you don’t need to check each network individually. You can then respond and reply to these messages directly, or repost them, all without ever leaving the app.
Plus, messages in the inbox will be automatically categorized based on sentiment, so you know whether each one is positive, negative, or neutral.
Other useful automation features include social listening (Sendible will monitor the web for mentions of your target keyword/brand name and let you know about important conversations), RSS feeds, automated email reporting, approval workflows, and more.
Key features
- Schedule content to be auto-published to all your social profiles in the context calendar
- Create and schedule multiple posts at once with the bulk composer
- Use post Queues to speed up the scheduling process
- Manage engagements across channels with the priority inbox
- Automated social listening and sentiment analysis
- Automated email reports with 250 metrics to choose from
Pricing
Plans start from $29/month, save 15% with yearly billing. Get started with a 14-day free trial.
Read our Sendible review.
#3 – ContentStudio
ContentStudio is another powerful social media automation platform. Use it to automate all your time-consuming social activities across multiple networks, from publishing to inbox management and beyond.

My favorite thing about ContentStudio is its ‘automation recipes’. These are pre-built workflows that you can customize and use to automate different tasks.
For example, the ‘article links to social media’ recipe automatically shares links to popular, niche-relevant articles to all your social profiles, pages, and groups with the help of smart rules and filters. The ‘videos to social media media’ recipe does the same thing for YouTube videos.
Aside from that, there’s also the ‘Evergreen’ recipe, which you can use to recycle posts that aren’t time-sensitive to squeeze more value out of them. ContentStudio will requeue your evergreen content so that it gets shared again at regular intervals.
Other automation tools include the bulk uploader, which lets you schedule tons of messages at once by uploading them as a CSV file, and RSS feeds, which let you set up custom streams of content ready for sharing.
I also really like ContentStudio’s social inbox. It’s designed around automation, with filters that let you automatically categorize conversations and assign them to different team members.
You can even set up canned responses to automatically reply to repetitive/common messages, so you can engage with your audience around the clock.
Key features
- Automate publishing by scheduling content to all your profiles from one shared content calendar
- Automated approval workflows to speed up collaboration
- Custom queues and preset content categories for hands-off scheduling
- AI-driven caption writer, image generator, emoji generator, and hashtag suggester
- Customizable automation recipes for all the most common social media workflows
- Bulk uploader, RSS feeds, and evergreen social media campaigns
- Automated social inbox with canned responses, filter categorization, and more.
- Discover tool and Chrome extension to help you find content to share
Pricing
Plans start at $25/month, get 20% off with yearly billing. 14-day free trial available.
#4 – Pallyy
Pallyy is an easy-to-use and affordable platform that can help you automate your social scheduling, reporting, and inbox management.
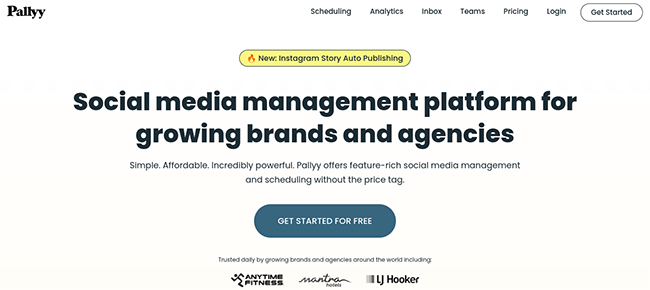
Pallyy’s core automation feature is its content calendar. You can use it to schedule content to all your social profiles in advance and cut the time you spend planning and publishing posts in half.
It’s built around a workflow that’s ideal for visual content. First, you add your graphics/images to your media library. To do so, you can upload them from a folder, create them in the Canva integration, or source them through the Unsplash/Pexels integrations.
Then, you load up the calendar and drag images/graphics from your media library onto it to start scheduling.
From there, all you have to do is add your captions (you can write different ones for each social platform you want to post it on), select the date/time you want to publish, and hit schedule. Pallyy will then automatically share the post at the time/day you set.
Aside from social media scheduling, you can also use Pallyy to automate your social media reporting. Set it up to send out daily, weekly, or monthly email reports that show all your most important analytics data—no more need to waste time manually drafting reports to please your clients.
Automation is built into Pallyy’s social inbox too. It pulls in comments and messages from all your profiles and shows them in one place. You can use ‘If this, then that’ rules to do things like automatically filter messages, assign different messages to different team members, and more.
Other neat time-saving features on Pallyy include preset sizing options, bulk image uploads, and reusable templates and hashtags. There are also a few other useful tools, including a visual planning grid for Instagram, a link-in-bio page builder, and the Explore content discovery tool.
Key features
- Automatically publish posts to Instagram & other social media networks
- Highly visual content calendar to help you plan your post schedule
- Unified social inbox with automation rules
- Reusable templates and hashtags
- Link-in-bio landing page builder
- Content curation tool
- Automated email reports and analytics
Pricing
Free plan available. Pallyy Premium starts at $18/month, get 10% off with yearly billing.
Read our Pallyy review.
#5 – Metricool
Metricool is one of the most popular social media automation tools around, with over 1.7 million users.
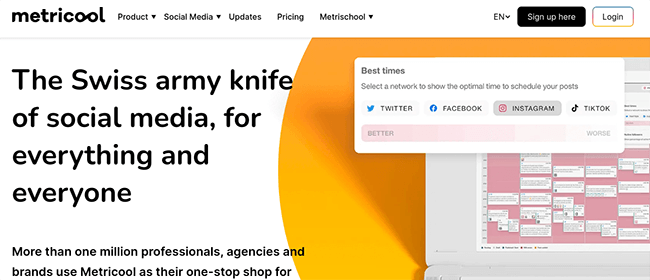
My favorite thing about Metricool is its Autolists feature. It automates your social media posting schedule so that you never run out of content.
Basically, an autolist is a set of posts that you can ‘queue up’ to be published to your chosen social networks over time, similar to how ‘content categories’ work on other platforms.
First, you create a new autolist, choose the social networks you’ll be posting content to, and select the day(s) of the week and time(s) you want the autolist content to be shared to those networks.
Then, you change the settings as needed. For example, if you turn on ‘Repeat’, it makes your autolist circular so that as a piece of content in your autolist is shared, it’s requeued at the back to be shared again in the future.
If you turn on ‘Use URL Shortener’, any links in your Autolist posts are automatically shortened to make them more clickable and reduce the character count.
After you’ve set up your autolist, you fill it out with social media content. There are a few ways to do this. Option one is to create posts individually (there are social media templates and an AI caption writer to help you automate and optimize the post creation process) and then add them to the list.
Option two is to fill it out in bulk by uploading a CSV file. This can save you a ton of time.
But my favorite option is to fill it out with content from an RSS feed. Just add your chosen feed URL, and Metricool will automatically pull in the links to new articles you post to your company blog, or new videos you post to YouTube, into your autolist, ready to be shared. This is a great way to automate your social media promotion.
And autolists are just the start. Metricool also has lots of other features to help you manage and automate your social media efforts. For example, it also comes with a unified social inbox, link in bio tool, planner, hashtag tracker, analytics, reporting tool, competitor analysis functionality, and more.
Key features
- Queue up all your social media posts for publishing months in advance with Autolists
- Automatically recycle evergreen content with the Repeat feature
- Create posts faster with the AI caption writer and social media templates
- Automatically share new blog posts and videos with RSS feeds
- Manage engagements in the unified social inbox
Pricing
Free plan available. Paid plans start from $22/month, discounts are available when you pay annually.
Read our Metricool review.
#6 – Missinglettr
Missinglettr is an AI-powered social marketing platform that automatically turns your blog posts (or any other branded content ) into social media posts and schedules them for you.
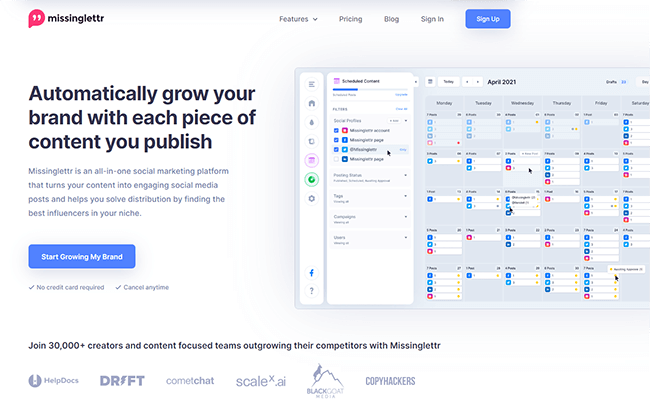
What’s great about Missinglettr is that it’s completely hands-off. You don’t have to manually create your social posts first and then schedule them like you do with some other automation tools—Missinglettr handles both steps in the process.
Take their Campaigns feature, for example. You just feed it a piece of branded content that you want to promote (like an article from your blog, or a video from your YouTube channel), and it’ll create all the posts you need to promote that content on social media over a 12-month campaign in seconds.
Then, Missinglettr’s AI will help you schedule those posts by recommending the best time to post on each network. You can keep track of all your scheduled posts in the calendar view, and turn on automatic reposts for any content that you want to share again and again.
It can even automatically pull in your branded content from platforms like YouTube, WordPress, Medium, Blogger, and Wix thanks to its native integrations. Then, sync everything up and add all your posts and videos to your library to be dripped out on social over time.
I particularly like how MissingLettr’s AI analyzes the context of each piece of content you want to promote. It then uses that contextual understanding to match it to trending hashtags and popular topics and to extract valuable quotes/images for the post.
Aside from creating social media posts from your own branded content, you can also use MissingLettr’s Curate feature to create posts from other people’s content, automatically.
It’s a set-it-and-forget-it content curation solution that automatically discovers popular content in your niche that is proven to resonate with your target audience and then shares it to your socials.
Key features
- Turn branded content into social posts automatically with Drip Campaigns
- AI-powered best time to post recommendations
- View scheduled posts in the content calendar
- Automatic reports for evergreen content
- Automated content curation
- Analytics and reports
Pricing
Free plan available. Paid plans start from $9/month, get 2 months free with yearly billing.
Read our Missinglettr review.
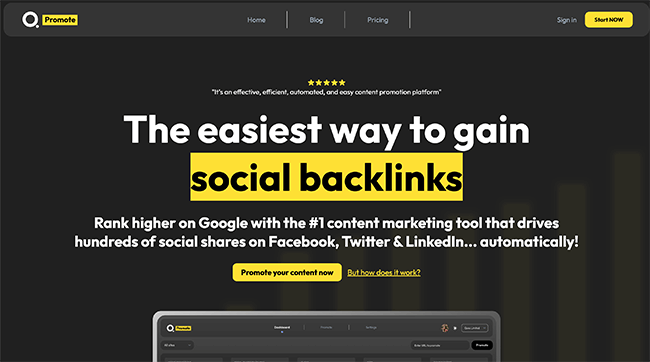
#7 – Quuu Promote
Quuu Promote is the best tool for automating social sharing. Use it to promote your blog by getting thousands of real social media users to share it with their followers, automatically.
All the tools we’ve looked at so far can help you automate the process of sharing content to your own social media profiles.
But Quuu Promote takes it one step further. It’s the only tool that can automate the process of getting other social media users to share your content.
And no, we’re not talking about bots here. We’re talking about real people, sharing links to your blog content with their real, organic followers.
How? It’s simple.
Thousands of brands, marketers, and influencers already use Quuu’s core content curation software to save time finding interesting stuff to share on social media.
All you have to do is add your blog content to Quuu Promote, and Quuu will start sending it out to those same users.
If one of your posts catches their eye, they might choose to share it with their audience. When they do, not only does it help drive relevant social traffic to the post, but it can also generate thousands of social backlinks for you over time, giving your SEO a boost and helping you to drive more organic search traffic too.
Key features
- Get other social media users to share your content
- Promote your blog posts and build social backlinks on autopilot
- Curate content and automate social media publishing with Quuu’s core software
Pricing
Plans start from $50/month, discounts are available with annual billing.
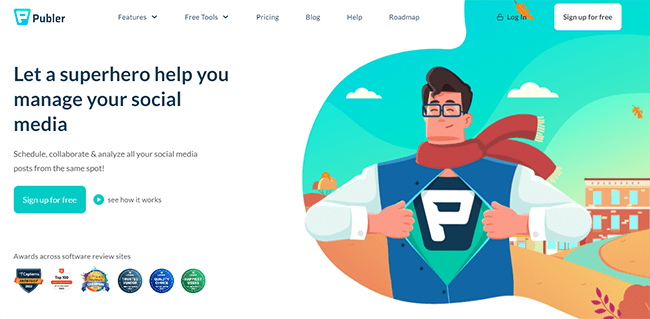
#8 – Publer
Publer is another all-in-one tool that enables you to automate your social media publishing, inbox management, and more.
My favorite thing about Publer is its AI Assist. It’s a built-in generative AI tool powered by GPT-4, so it works really well—and there are lots of ways you can use it to automate the social content creation process.
For example, if you’re not sure what to post, you can use it to brainstorm new ideas. If you’re struggling with a caption, you can prompt it to write or complete it for you. And if you need a quick visual to go along with a post you’ve written, you can use it to generate an image from scratch.
The AI can even respond to comments for you. Just load up the social inbox inside Publer, choose the comment you want to reply to, and hit Comment with AI. This saves you a ton of time writing manual responses to all your incoming messages and comments, so you can focus on other tasks.
Publer works with most major social media platforms including Facebook, Instagram, TikTok, Twitter, LinkedIn, and YouTube. Plus, it also supports Telegram and Mastodon—these are two networks that many of its competitors don’t work with.
Aside from the AI writer and social inbox, Publer also comes with an easy-to-use scheduling calendar, bulk scheduler, post recycling, link in bio tool, and lots of other useful stuff.
Another thing I like about Publer is that it lets you choose how many social media accounts and team members to include in your plan, so you don’t pay for more than you need. All paid plans include unlimited post scheduling and RSS feed automations too, which is nice.
Key features
- Use the AI assist to automate post and comment creation
- Manage and reply to messages and comments in the social inbox
- Schedule posts for auto-publishing in the content calendar
- Use the link in bio tool to create a custom landing page for your social bio
- Set up RSS feed automations for easy content sharing
Pricing
Free plan available. Paid plans start from $12/month, discounts are available with annual billing. Get started with a 14-day free trial.
Read our Publer review.
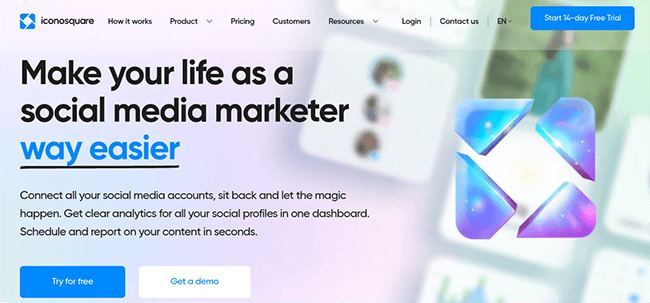
#9 – Iconosquare
Iconosquare is an all-in-one platform that comes loaded with powerful automation tools to help you schedule and report on content in seconds.
I like Iconosquare’s scheduling workflow. It’s super easy: You just write a post caption, add your visuals, and select the social media platforms you want to crosspost it to.
To save time, you can save hashtag lists and insert them in every post you write in one click. And if you’re working with a team, you can submit any posts you create for approval before scheduling. Plus, add notes for context and feedback.
Iconosquare’s Conversations tool is another one of its highlights. It’s like a unified social inbox, where you can view, manage, and reply to comments, mentions, and direct messages from all the social networks/profiles that you’ve connected to in one place.
There’s also a built-in social listening tool. You can use it to track relevant hashtags/mentions and benchmark your performance against up to 5 competitors, as well as against your industry at large. Then, share all that in automated monthly reports.
Speaking of reports, Iconosquare lets you get really granular when it comes to reporting. You can specify exactly which data you want to show (there are 100+ metrics to choose from) and how you want to display it (i.e. in graphs, charts, as raw data, etc.).
Plus, you can control how often you want to send out automated reports with custom time frames, which social accounts you want to report on, and more.
Key features
- Easy-to-use social media scheduler
- Conversations tool to manage and reply to comments, messages, and mentions
- Social listening tool to automatically track hashtags and mentions
- Automated, fully customizable email reports
Pricing
Plans start at $59/month, get up to 22% off with yearly billing. 14-day free trial available.
Read our Iconosquare review.
#10 – NapoleonCat
NapoleonCat is the best social media automation software for customer support teams thanks to its top-of-the-line automated social inbox.
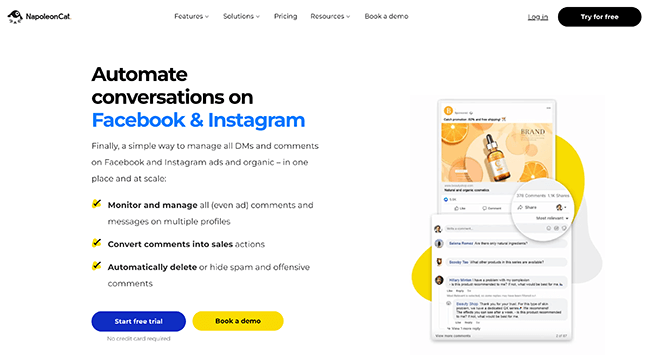
You can use it to manage, moderate, and reply to social media messages and comments, as well as Google reviews, support tickets, and more.
The best thing about it is its Auto-Moderation feature. This is a real game-changer that can save support teams hundreds of hours every month by automating some of your customer communications for you.
For example, you can set up the Auto-Moderation to automatically clean up spam messages, or reply with canned responses to common/generic comments and queries.
Not only does this free up your team’s time to focus on more difficult conversations, but it also leads to faster response times and better customer experiences.
NapoleonCat is also one of the only platforms we’ve tried to come with its own built-in social CRM. So you can create detailed user profiles for all the people who contact you on social media, which is great for sales and customer support teams.
Of course, it’s not just about managing conversations. NapoleonCat also comes with all the other stuff you need for social media, like automated publishing/scheduling, an AI assistant to automate post caption creation, automated reports, and detailed analytics.
Key features
- Best-in-class social inbox with auto-moderation
- Canned responses and automatic spam clean-up
- Social CRM with user profiles for all your customers on social media
- Automated publishing and scheduling tools
- Automated reports and analytics
Pricing
Plans start from $32/month, get 2 months free with yearly billing. Get started with a 2-week free trial.
Read our NapoleonCat review.
#11 – PromoRepublic
PromoRepublic is the best social media automation tool for local businesses.
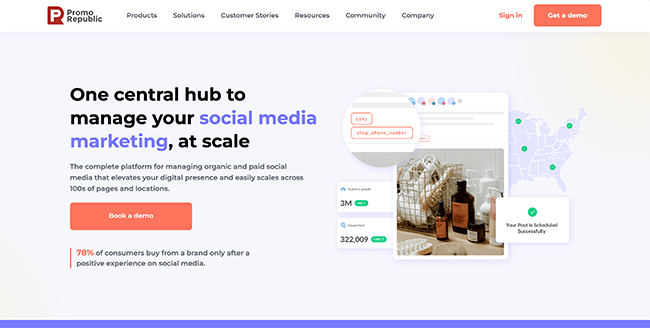
It doesn’t just give you all the tools you need to automate your social media marketing, but also other areas like review management, listing management, local SEO, and more.
PromoRepublic’s social media automation toolkit includes automated publishing, so you can schedule posts ahead of time to all the major platforms.
Plus, automated social listening, so you can keep an eye on brand and keyword mentions, and engagement management, so you can view and reply to all your social media messages, comments, reviews, etc.
It’s also one of the only platforms out there to come with its own built-in graphics editor to help you create visuals for your posts (plus 6,000 editable templates to save you time).
And also one of the few to come with advertising tools—you can boost your social posts and manage your ad campaigns without leaving the app.
Key features
- Automated social listening tool
- Social media inbox to manage engagements
- Automated publishing and cross-platform scheduling
- Built-in graphics editor to create post visuals
- Other automation tools for local businesses (review management, listing management, local SEO, etc.)
Pricing
Plans start from $59/month, get up to 25% off with yearly billing. 14-day free trial available.
Read our PromoRepublic review.
#12 – Sprout Social
Sprout Social is a great social media automation solution for larger businesses. It’s much more expensive than other tools, but it also offers better automation features than you’ll find anywhere else.
Sprout Social’s social media toolkit includes a content calendar, which you can use to schedule posts to pretty much every social media network. The best time to post recommendations help ensure you always schedule posts at the perfect time to maximize engagement.
There’s also a Smart Inbox where you can manage conversations and reply to messages across socials. You can even automate the process with canned responses and team assignments.
On top of that, there’s also a bot builder that lets you create your own branded chatbots for Twitter and Facebook (so you can automate your social customer support), as well as a social CRM, review management, social listening tools, competitor research tools, powerful reporting, and much more.
Key features
- Content calendar for social media scheduling
- Smart Inbox to manage and reply to messages and comments across platforms
- Branded chatbot builder to automate customer support
- Social listening and competitor research tools
- Social CRM, automated reporting, and more.
Pricing
Plans start from $249/month, save up to 25% with annual billing. Get started with a 30-day free trial.
Read our Sprout Social review.
#13 – IFTTT
IFTTT isn’t just another social marketing platform that has a few automation features built in. It’s a dedicated digital automation platform that you can use to connect apps together and automate pretty much any business process you can think of—no coding required.

IFTTT gets its name from the programming conditional statement ‘if this, then that’. And that’s exactly how it works. You just tell it what you want it to do, and when you want it to do it (i.e. ‘If X happens, then do Y’) and IFTTT will take care of it.
There are lots of pre-built ‘applets’ (workflows) in IFTTT specifically for social media crossposting. For example, the applet ‘When a new feed is posted, post it to my Twitter account’ is useful when you want to automatically share RSS feed content on Twitter.
Or how about ‘Automatically share new YouTube videos to a Facebook page’, or ‘Every time I start a new stream on Twitch, post a message to Discord’, or ‘Post all my Instagram photos to my Facebook page’.
The AI Social Creator applet can generate unique social media content (i.e. Tweets, LinkedIn updates, Facebook posts, etc.) for you from scratch, and you can automate that too. For example, it can automatically recognize when you share a new blog post and then write a Tweet that links back to that blog.
And the best part is, even if you can’t find an applet that does what you want it to do, you can write your own in IFTTT instead. The possibilities are endless.
Key features
- Automate any process with ‘if this, then that’ conditional statements.
- Pre-built Applets for social media crossposting
- Build your own applets with triggers and actions
- AI-powered tools to automate social content creation
- Integrates with all popular social media platforms and marketing tools
Pricing
Free plan available. Paid plans start from just $3.99/month.
#14 – Brand24
Brand24 is the best social media automation tool when it comes to social listening.
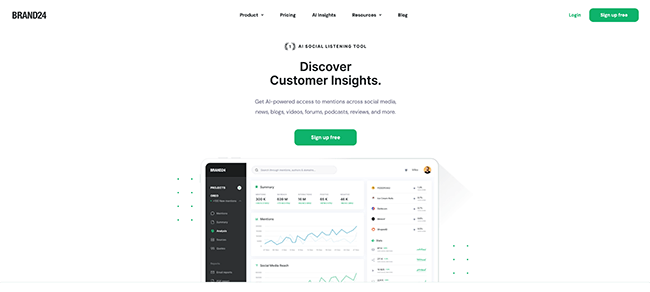
You can use Brand24 to monitor the web and keep track of your brand mentions across 25 million online sources. That doesn’t just include all the major social media platforms, but also places like Spotify, news sites, blogs, forums, reviews, etc.)
Whenever Brand24 finds a mention of your brand online, it’ll let you know about it in your ‘Mentions Feed’. And it’ll even automatically analyze the sentiment of each mention so you know whether it’s positive or negative.
Plus, it also automatically extracts valuable insights and compiles them into analytics reports for you. For example, the Volume Chart gives you a visual representation of the number of discussions about your brand happening online.
If there’s a sudden change in the quantity or quality of discussions, Brand24’s automated alerts let you know, so you can take action immediately.
Unfortunately, analytics and social listening is the only area Brand24 can automate. It doesn’t come with other automation features like social scheduling.
Key features
- Automated social listening and brand mention monitoring
- Automated sentiment analysis for all brand mentions
- Extracts insights from mentions automatically and uses them to create visual reports
- Automated alerts to let you know about sudden changes in mention quality/quantity
- Influence scoring tells you which of the people who mention your brand have the biggest impact
Pricing
Plans start from $99/month, get up to 2 months free with yearly billing. Free 14-day trial available.
Read our Brand24 review.
Final thoughts
That concludes our roundup of the best social media automation tools.
The next step is to figure out exactly what features you need and find a tool that offers those features.
Not sure which one to use? You can’t go wrong with any of our top three picks:
- SocialBee is the overall best choice for most users. It comes with everything you need to automate your entire social strategy and manage your social media presence, including an innovative AI Copilot, excellent scheduling capabilities, and analytics.
- Sendible is the best all-in-one solution. It has more automation features than most other tools out there, including scheduling, a social inbox, social listening, automated reporting, and more.
- Missinglettr is the best choice for bloggers and content creators who want a hands-off way to promote their content on social media. It can automatically turn your blog posts into a year-long social media campaign.
If you’ve still not found what you’re looking for, check out the posts below for more useful social media tools:
- 12 Best Social Media Scheduling Tools
- 11 Best Instagram Schedulers
- 13 Best Social Media Management Tools
And don’t miss our roundup of the latest social media statistics.
Disclosure: Our content is reader-supported. If you click on certain links we may make a commission.